

- Rye Malt Guide – How to Use This Malt for Distinctive Homebrews - November 24, 2022
- Aromatic Malt Guide – Why I Use This Malt in My Homebrew Recipes - November 19, 2022
- Willamette Hops Guide – Why I’m a Fan of This Classic American Hop - November 9, 2022
Decoction mash is a homebrewing term that you don’t see as often; however, it can be an important step in creating German and Czech-style lagers. In my decoction mash explained guide, I will go through all the steps required to achieve multi-step mashes that can enhance the quality and taste of your homebrews.
I will look at the different types of decoction you can use, the pros and cons of doing this at home, and I will answer some common questions.
Finally, I will list some products that can help you to practice decoction mash as a homebrewer.
Why Decoction Mash?
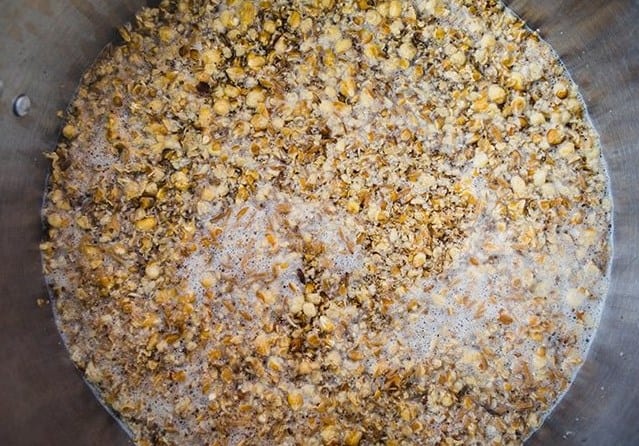
Decoction mash involves removing a third of the mash, heating it to conversion temperature, boiling, and then returning it to the main mash.
The reason for this was that malt historically wasn’t as well modified as it is now. The decoction was essential in the brewing process to create character, depth, and quality for the finished lagers and beers.
Many brewers see no need to carry this process out these days as malt has become much more modified and stable. However, if you want to embark on a traditional European brewing method to enhance your brews, decoction is a process you should know about.
Methods to Decoction Mash
There isn’t just one method to decoction mash, although triple decoction is usually the most popular. A triple decoction is a traditional way of carrying out this process.
The methods do involve knowing about homebrewing science to ensure that you get the best results. If you are entirely new to homebrewing, it isn’t a process I would recommend right away. Still, after some experience, it can be very satisfying and can create fantastic lagers and beers.
Triple Decoction
I will start by explaining the most popular and effective method – triple decoction. This is intensive and will take up a lot of your time, but it is often necessary with home-grown or under-modified malt.
There are four primary temperature rests with triple decoctions: the acid rest, the protein rest, the saccharification rest, and the mash-out.
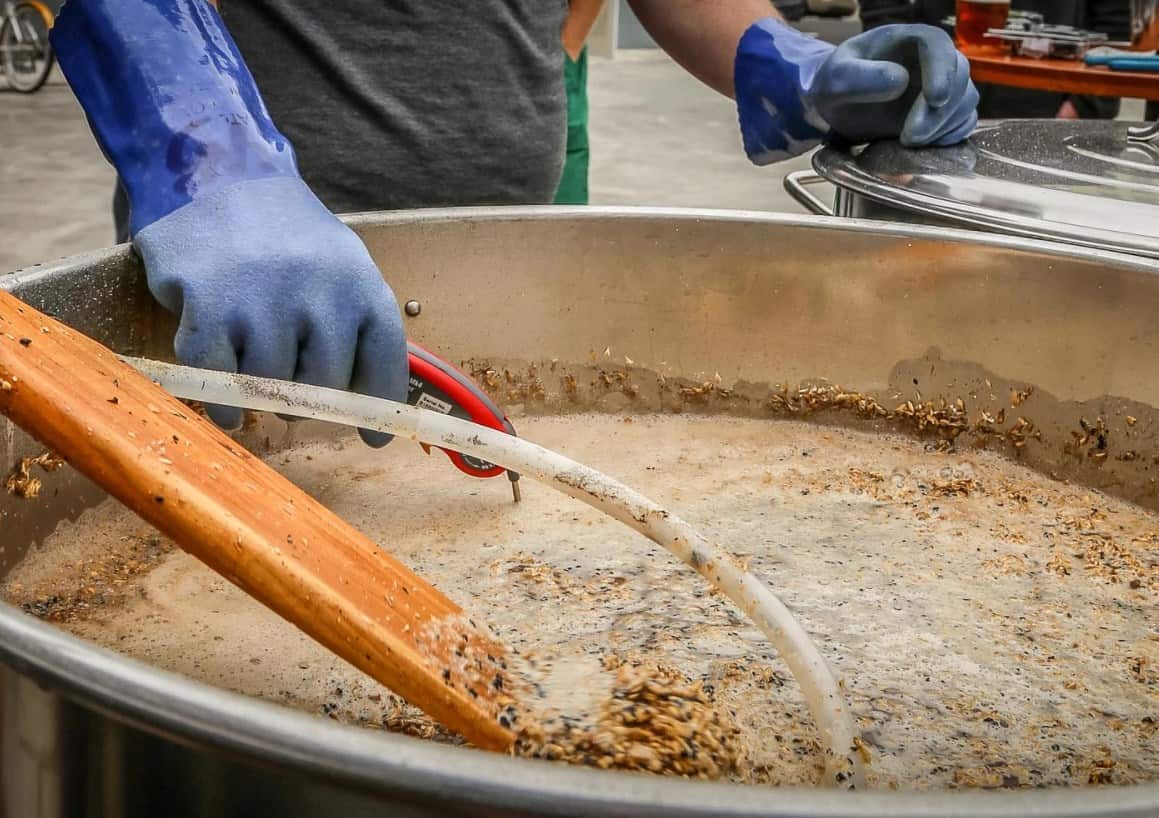
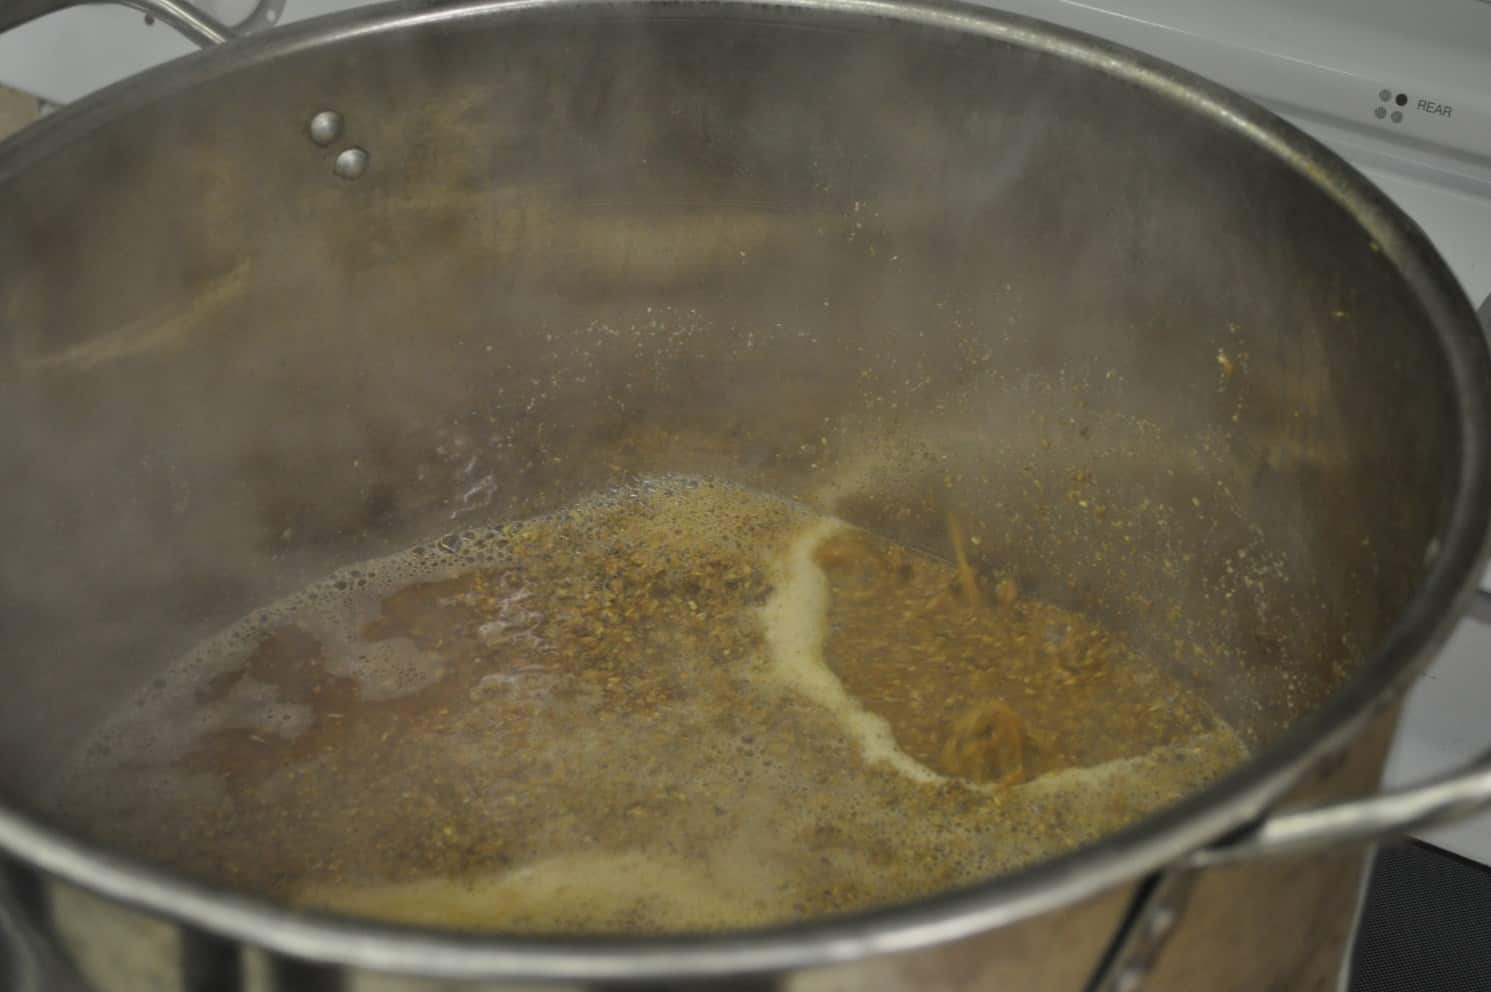
The acid rest is when the mash temperature reaches 97°F (36°C), and you should leave the mash for 20-minutes at this point. This is when you pull your first decoction (a third of the mash), and you’ll need to heat it slowly (33.8°F/1°C per minute) with constant stirring. After this, the decoction mash should be boiled for a minimum of five minutes, but it depends on the brew you are trying to create, as darker malts such as Crystal should be brewed for around 30-minutes.
Next, you start to put the decoction mash back into the main mash, bringing the temperature up for the protein rest. Do this slowly and carefully as the decoction mash will be scorching hot, and the temperature for the protein rest is 122°F (50°C).
When you reach the protein rest temperature, hold it there for around 20-minutes, and perform the second decoction following the same process as the first.
Once you add it back in, you should aim for a temperature of 145-155°F (63-68°C) for the saccharification rest (which aides starch conversion), and this rest should be held for 15-minutes. Finally, pull your third decoction and, following the same process, add it back in for the mash-out rest, which should be a temperature of 170°F (77°C).
This is the basics of a triple decoction, and the time can range from around 3 hours to over 5, so you can see how it adds significant time to the brewing process.
Double Decoction
Another decoction method is the double decoction, and this involves three mash rests – the protein rest, saccharification rest, and mash-out.
I would recommend this process if you don’t want to spend as much time on decoction as it is shorter, but a triple decoction might be necessary depending on the beer or ales you are trying to produce.
In this double decoction method, the process is the same as a triple decoction, except you are missing one decoction. I would advise using this for clearer beers such as lighter Pilsners.
Single Decoction
Lastly, there is the single decoction method, which is ideal if you want to get some experience in this traditional practice. This is the process I would recommend if you are a beginner.
The single decoction mash method is ideal for adding a malty depth to your beers and ales or if you want to implement a sweet finish.
With this process, you carry out a single decoction at the saccharification rest (145-155°F or 63-68°C) and allow the mash to rest for 30-45 minutes. Follow the same decoction process of removing, stirring, raising the temperature, and boiling as above. When returning the mash to the main mash, let it get to a temperature of 170°F (77°C) and leave it for around 10-minutes.
Pros and Cons of Decoction Mash
There is much debate around the decoction mash process and whether or not it is still relevant. Let’s look at some pros and cons.
Pros
- It is seen as essential for certain brews such as German and Czech-style lagers.
- Decoction mashing can create unique flavors
- It helps to break down high protein malts
- It brings out the flavor profile of darker malts
- You can practice a traditional European brewing method
Cons
- Decoction mashing adds significant time to the brewing process
- You will need two people to do this
- It isn’t very beginner-friendly
- Some brewers find it an unnecessary step with modified malts
Product Recommendations
If you are going to give the decoction mash process a try, you’ll need some additional items to carry it out effectively. These are the products I recommend to ensure a smooth and efficient decoction mash.
JOYOUNG Stainless Steel Electric Kettle
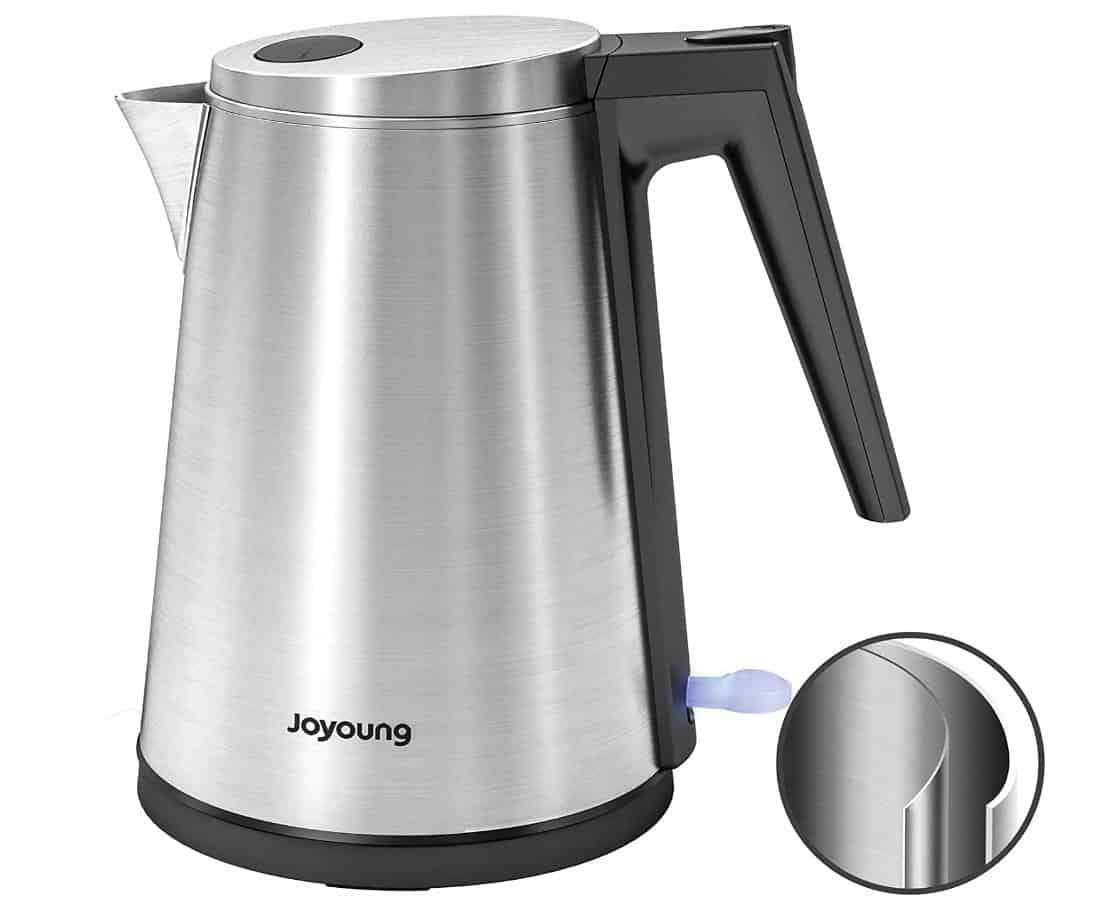
The great thing about trying the decoction method is that you don’t necessarily need any fancy equipment. You do require a separate kettle for boiling the decoction, but this can be a standard aluminum or stainless steel model.
Some people do use their normal kettle, but this requires you to carry out unnecessary cleaning. I recommend opting for the JOYOUNG Stainless Steel Electric Kettle as it is a cost-effective but ideal choice.
This kettle has a capacity of 1.5L, is BPA-free, and has a stainless steel inner and outer construction for easier clean-up. A cool feature of this kettle is the fast boiling, and it can help save time and energy, particularly with a triple decoction.
Heat-resistant Water Jug
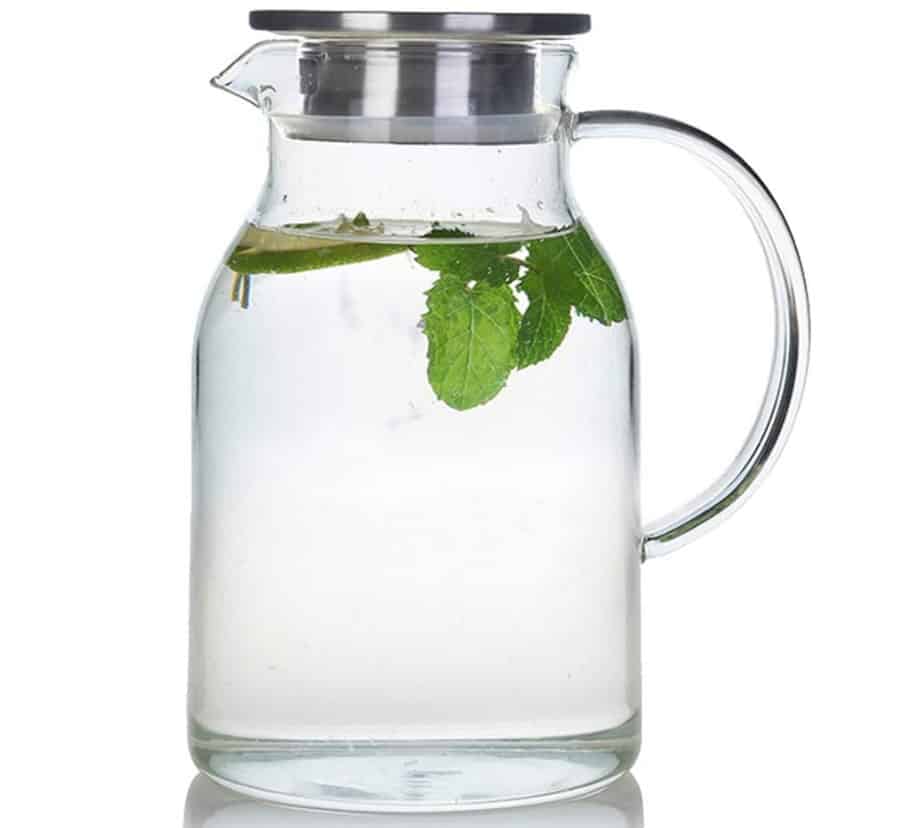
You also require a heat-resistant jug to transfer the decoction back to the main mash. Again, this doesn’t need to be anything fancy, and the simple Heat-resistant Water Jug is perfect for this task.
If you have any spare heat-resistant jugs in your kitchen, these will work fine, but it is usually better to have specific items for this process. This jug is basic, affordable, and has a 68 Oz. It is made from heat-resistant Borosilicate Glass and can withstand temperatures up to 300 ℉ (149°C), ideal for a decoction mash.
12″ SS Dial Thermometer Homebrewing
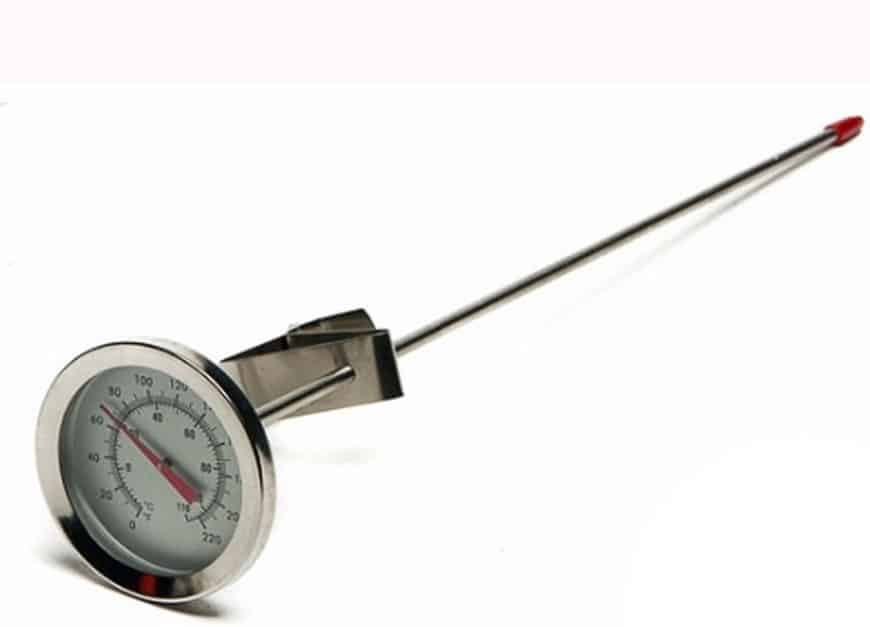
Finally, you will need to invest in a thermometer if you don’t already have one. Even though the decoction mash method was used when thermometers weren’t as widely available, it is still essential to have one to check the temperature.
A basic option is the 12″ SS Dial Thermometer Homebrewing, which will do exactly what you need it to, and it can withstand temperatures of up to 220 ℉ (104°C).
Frequently asked questions about decoction mash.
Question: What does decoction mash do?
Answer: Carrying out the decoction mash method involves removing a third of the mash at various internals before the mash-up stage. This process can enhance flavor, character, and depth to German and Czech-style brews.
Question: Do I need to use decoction mash when homebrewing?
Answer: Not really. A decoction mash is a traditional European method that isn’t used as widely these days as malt has become much more modified. However, some homebrewers prefer to use decoction mash for certain drinks, especially if you are using home-grown malt or under-modified malt.
Question: Is decoction mash beginner-friendly?
Answer: This process can be pretty difficult; however, I recommend trying a single decoction method first if you haven’t done it before. This will get you used to the process, and you can move up to a double and triple decoction as you gain more experience.
Question: Do I need any special equipment for decoction mash?
Answer: No. This process only requires items that you might have around your home. This includes a kettle, heat-resistant jug, sieve, and a heat source. It is a good idea to purchase additional equipment to use solely for this purpose, and a thermometer is recommended too.
Question: Will decoction mash add time to my brewing process?
Answer: Yes. Aside from the difficulty, a downside of this method is the additional time it will take. This can range from around three hours for a single decoction to over five hours for a triple decoction.
Conclusion
Even though decoction mash isn’t widely used, it can still be essential for making particular beer, lager, and ales. This traditional European brewing method is also favored by some homebrewers who want an authentic brewing experience.
While you don’t need any specialized equipment for decoction mash, you will require some extra items to complete the process efficiently. If you want to try decoction mash for your homebrewing, I recommend buying:
This will give you an excellent starting point to starting experimenting with this traditional brewing method.