
- Rye Malt Guide – How to Use This Malt for Distinctive Homebrews - November 24, 2022
- Aromatic Malt Guide – Why I Use This Malt in My Homebrew Recipes - November 19, 2022
- Willamette Hops Guide – Why I’m a Fan of This Classic American Hop - November 9, 2022
Properly drying your hops has a significant impact on how well your beers, ales, and homebrew creations will turn out. My drying hops process explained guide will show you why this stage in homebrewing is so vital.
I will explore how to dry your hops, the methods you can use to ensure your hops are dried properly, and I will answer some common questions towards the end.
Before I do that, let’s find out why you need to dry your hops in the first place.
Drying Hops Process
Growing hops can be challenging, especially if you have never done this before; however, the process of harvesting and drying the hops is often more difficult.
Why Dry Hops?
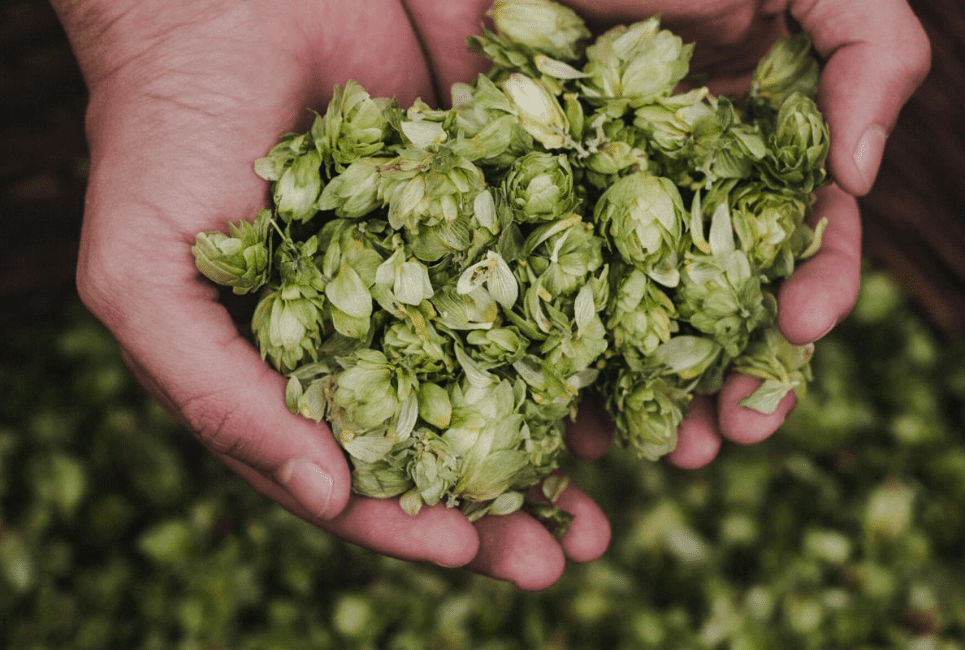
You need to dry hops to reduce the moisture content. When the hops have been harvesting (I’ll look at how to do this in a minute), they will contain a significant amount of moisture. This is usually around 70 – 85%, and the moisture levels need to be reduced to 8 – 10%.
Reducing the moisture levels ensures that you can not only use your newly harvested hops in your homebrews, but it also means that you can store your hops correctly.
If you don’t follow the hop drying process, your hops will oxidize, which is when mold begins to form. Essentially, not drying your hops makes them unusable and wastes all your great efforts in growing them.
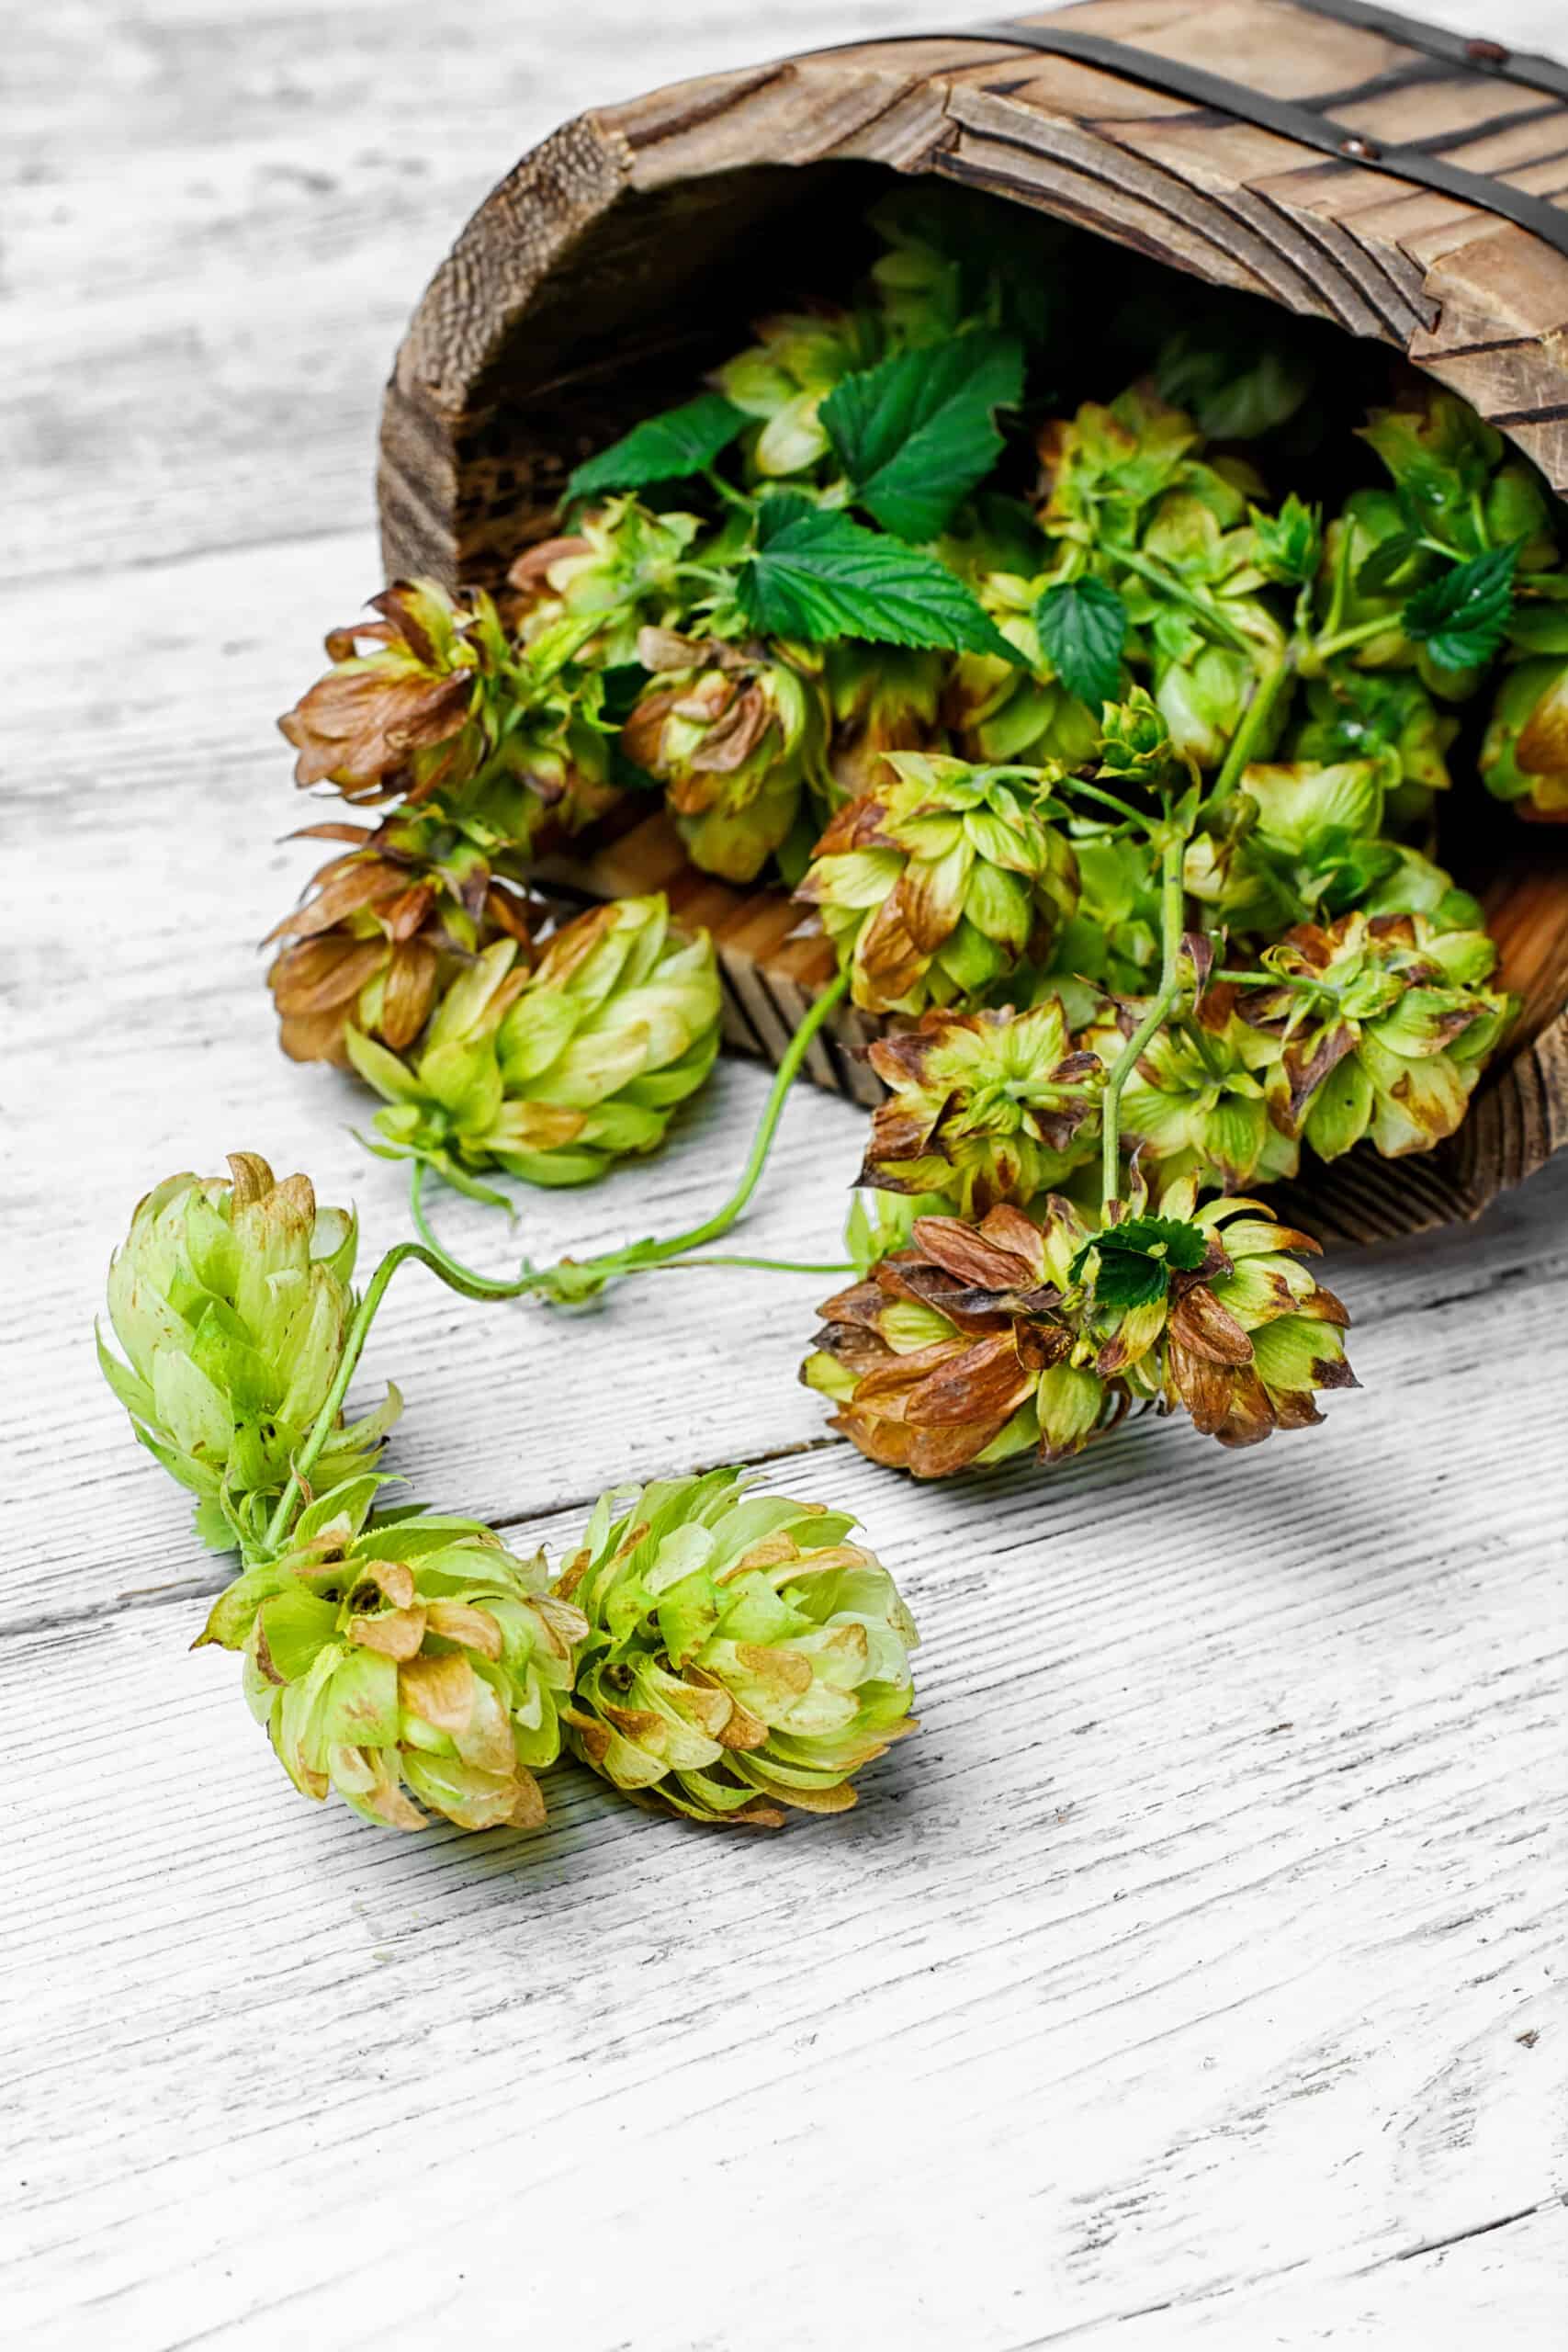
Harvesting Your Hops
Before I look at the method in which you can use to dry your hops sufficiently, you need to harvest them first.
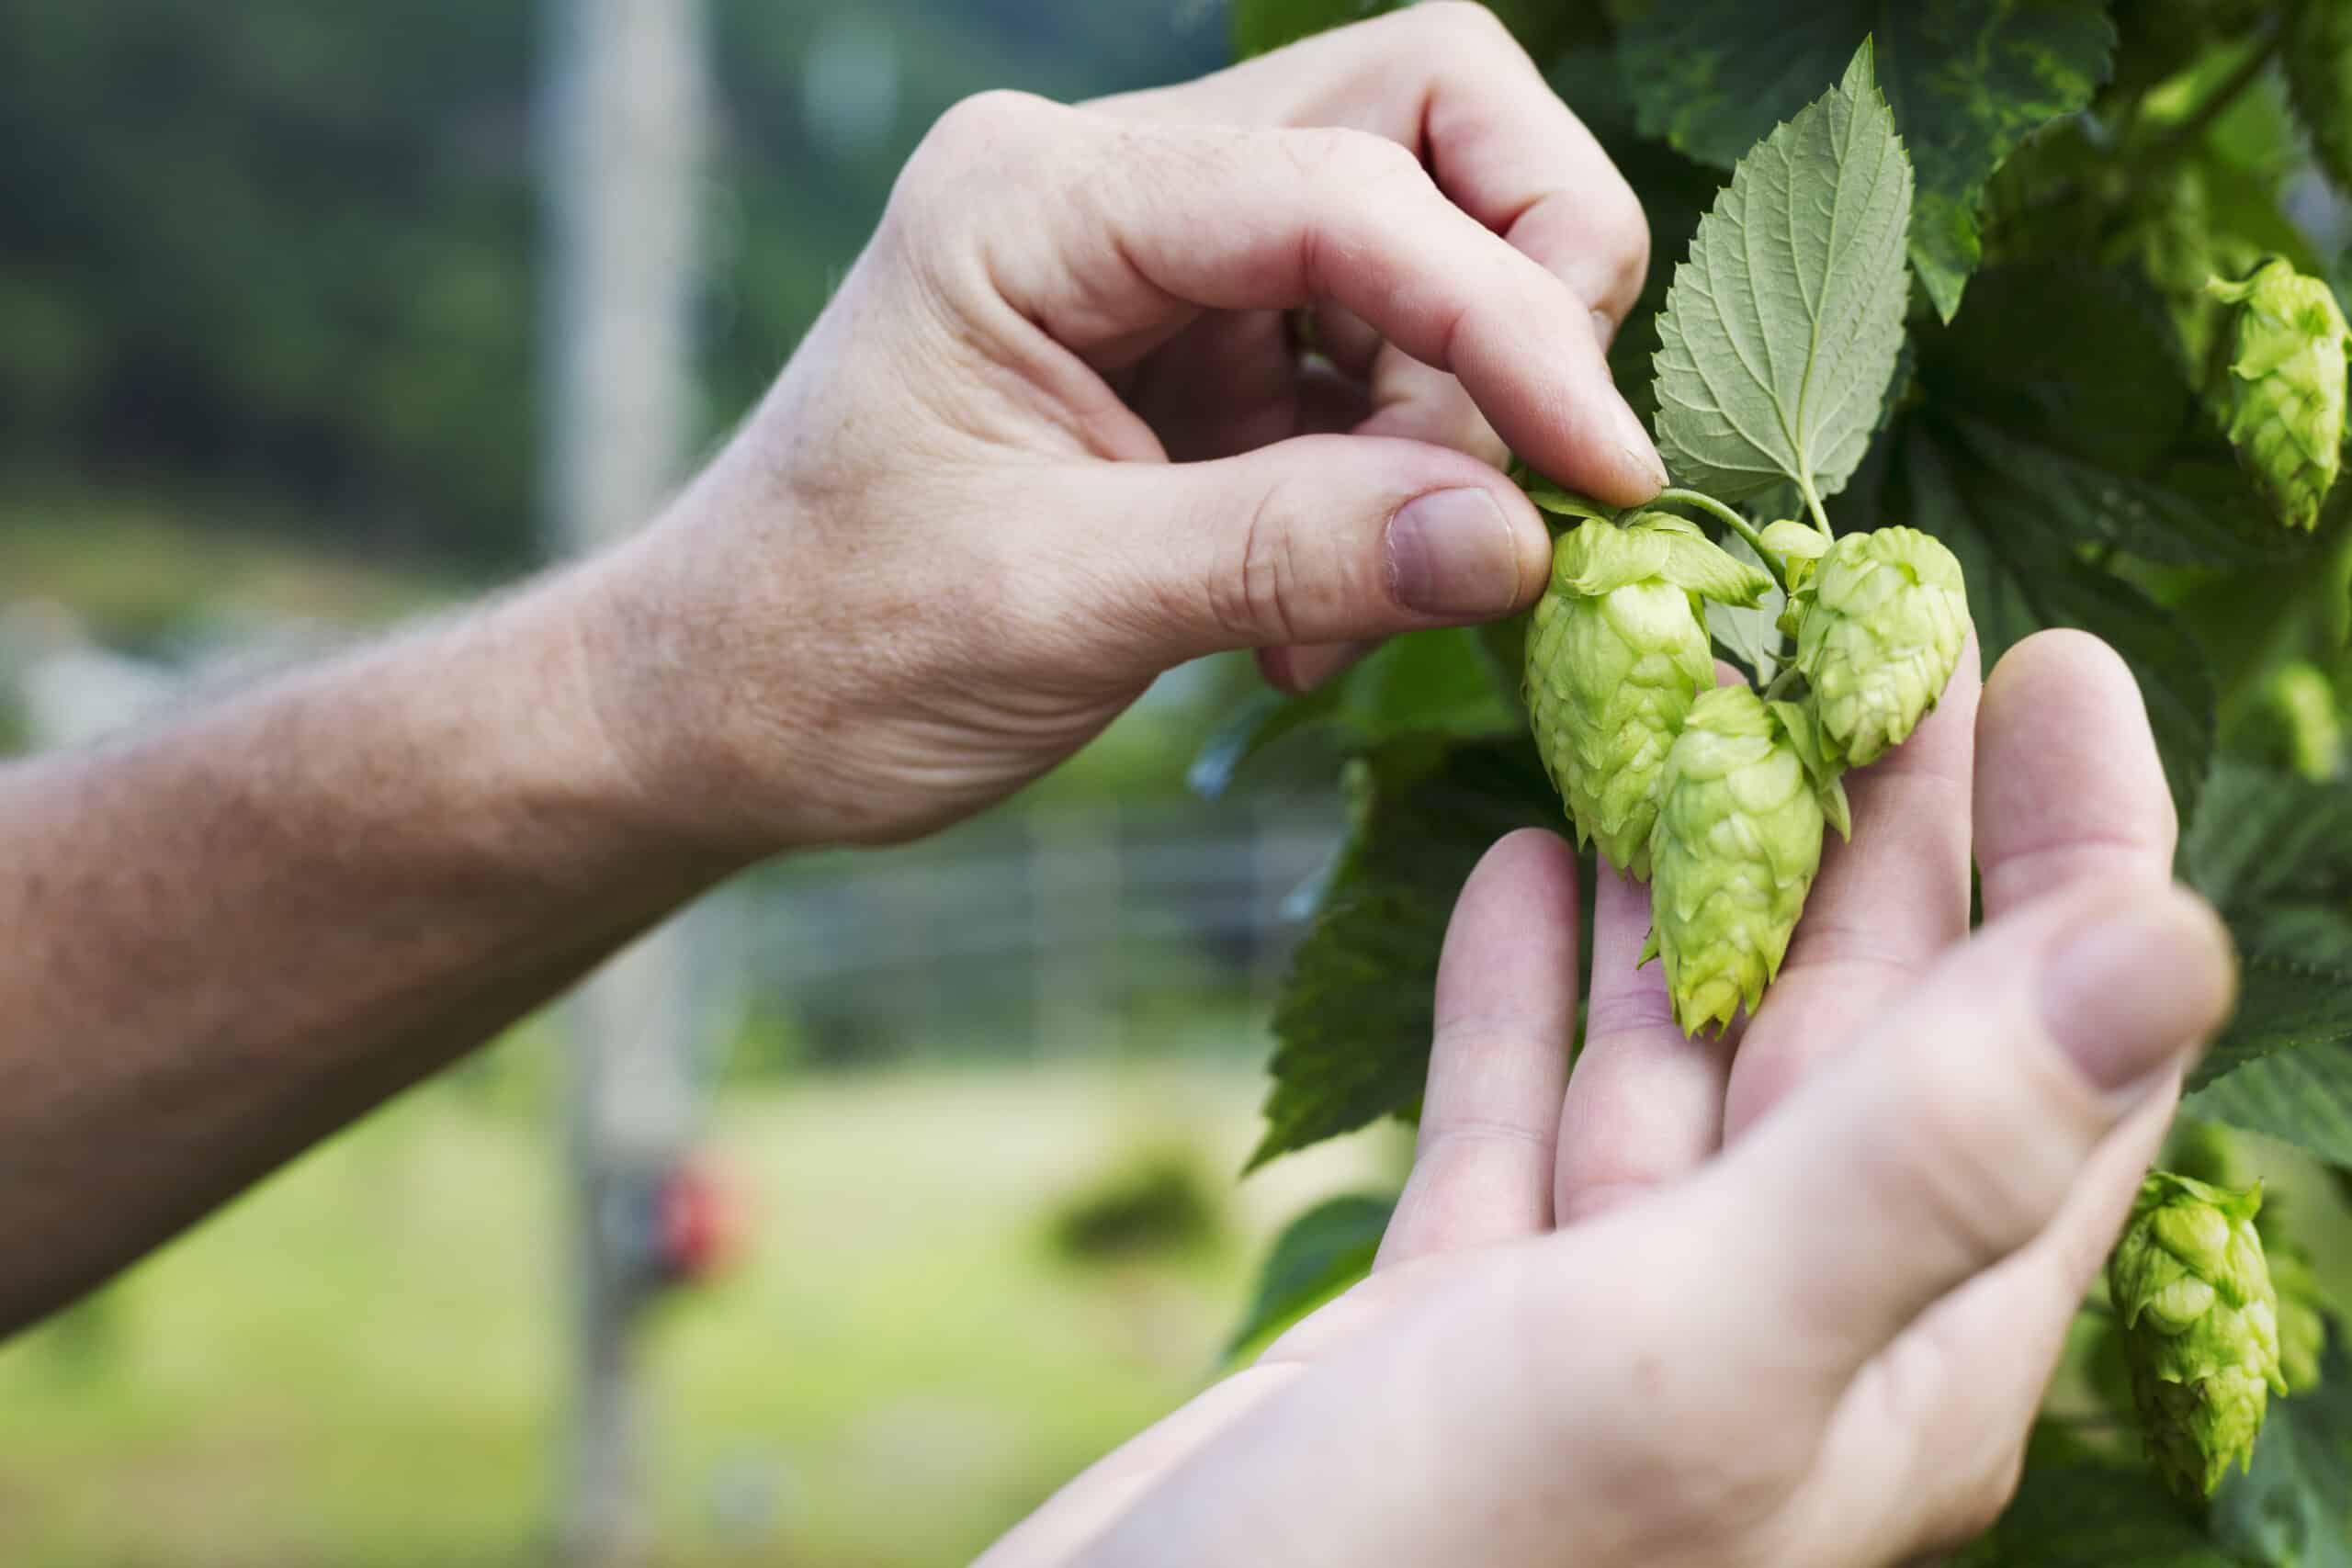
The first thing that you should do is check a wet hop for ripeness. You can do this by using the following method:
- Lightly squeeze the cone, and if it stays compressed, it means that it isn’t ripe enough. If the cone springs back after you compress it and feels dry, this is a good indication that it is ready to harvest.
- You can also smell the cone to ascertain its ripeness. A cone that is ready to harvest should have a powerful smell consistent with the hop aroma you would expect from this variety.
- The hops should feel slightly sticky when you touch them but also springy and dry.
- If the hop has Lupulin (a yellow powder that attaches itself to the leavers), it should be ready to harvest.
There are a couple of methods for harvesting your hops – either picking them by hand, which is recommended for the first harvest, or cutting the bine. It would be best if you read our guide on growing and harvesting hops before you try this.
Methods to Dry Hops
OK, so you have a better understanding of the science behind drying hops – but what methods can you use to do it?
There are three main ways in which you can dry your hops. If you aren’t going to make a beer or ale with wet hopping (which means using the hops right away), you’ll need to dry them out, so you can use them later.
One thing to note is that the temperature shouldn’t exceed 140°F (60°C).
Hop Drying Screen
Using a hop drying screen is recommended if you have a small number of hops. You can buy a hop drying screen and spread the hops evenly over the surface. The best place to out the screen is in a warm and dry location with good airflow.
The hops can be left for a few days while they dry correctly, and it is also recommended to have a fan directly beside or underneath the screen. This will help the air circulate and ensure that your hops dry to an acceptable standard for storage and later use. They may require some ‘fluffing’ or movement through the drying process, and many people also cover them with some light fabric.
Food Dehydrator
Drying hops with a food dehydrator is an excellent method that can give you much more control over the temperature. With this device, you can set a consistent temperature to ensure that your newly harvested hops dry evenly.
If you are using this method, you should set the food dehydrator at a temperature of 95°F (35°C) and leave for 8 – 9 hours. You should check on the hops throughout the drying process, and you might need to move them around a bit; however, this method is ideal for drying hops out quicker at a consistent temperature, and it also works great if you have a lot of hops to dry out.
Oven
The final method of drying hops is to use a well-ventilated oven, and this can be a decent choice if you don’t want to use a screen or invest in a food dehydrator.
For drying out hops to make a variety of beers and ales, spread them out on a pan. You should then leave the oven at a temperature that doesn’t go over 140°F (60°C) and aiming for a temperature of 100°F (38°C) will yield the best results. You will also need to ensure that the oven is well ventilated and check on the hops regularly.
This method doesn’t work as well as using a food dehydrator, but it can be a good option to regulate the temperature correctly without spending extra money.
Storing Your Hops
The whole point of drying out your hops is to store them and use the hops later in the dry hopping process, unless you are using a fresh hop in your brews.
Storing your hops is pretty straightforward. The best method is to use a freezer or air-tight bag (a plastic container can also work) and put them into the freezer. You can also store hops at around 20°C in a cool, dry place.
Some types of beer hop should be used as soon as possible after storage, while others can last longer. For example, Cascade hops only retain 48% – 52% of alpha acids after six months, so they should be used shortly after the drying process is complete.
Product Recommendations
Now that you have a better understanding of harvesting, drying, and storing hops, let’s look at some products which will help this process.
OSTBA Food Dehydrator Machine Adjustable Temperature & 72H Timer
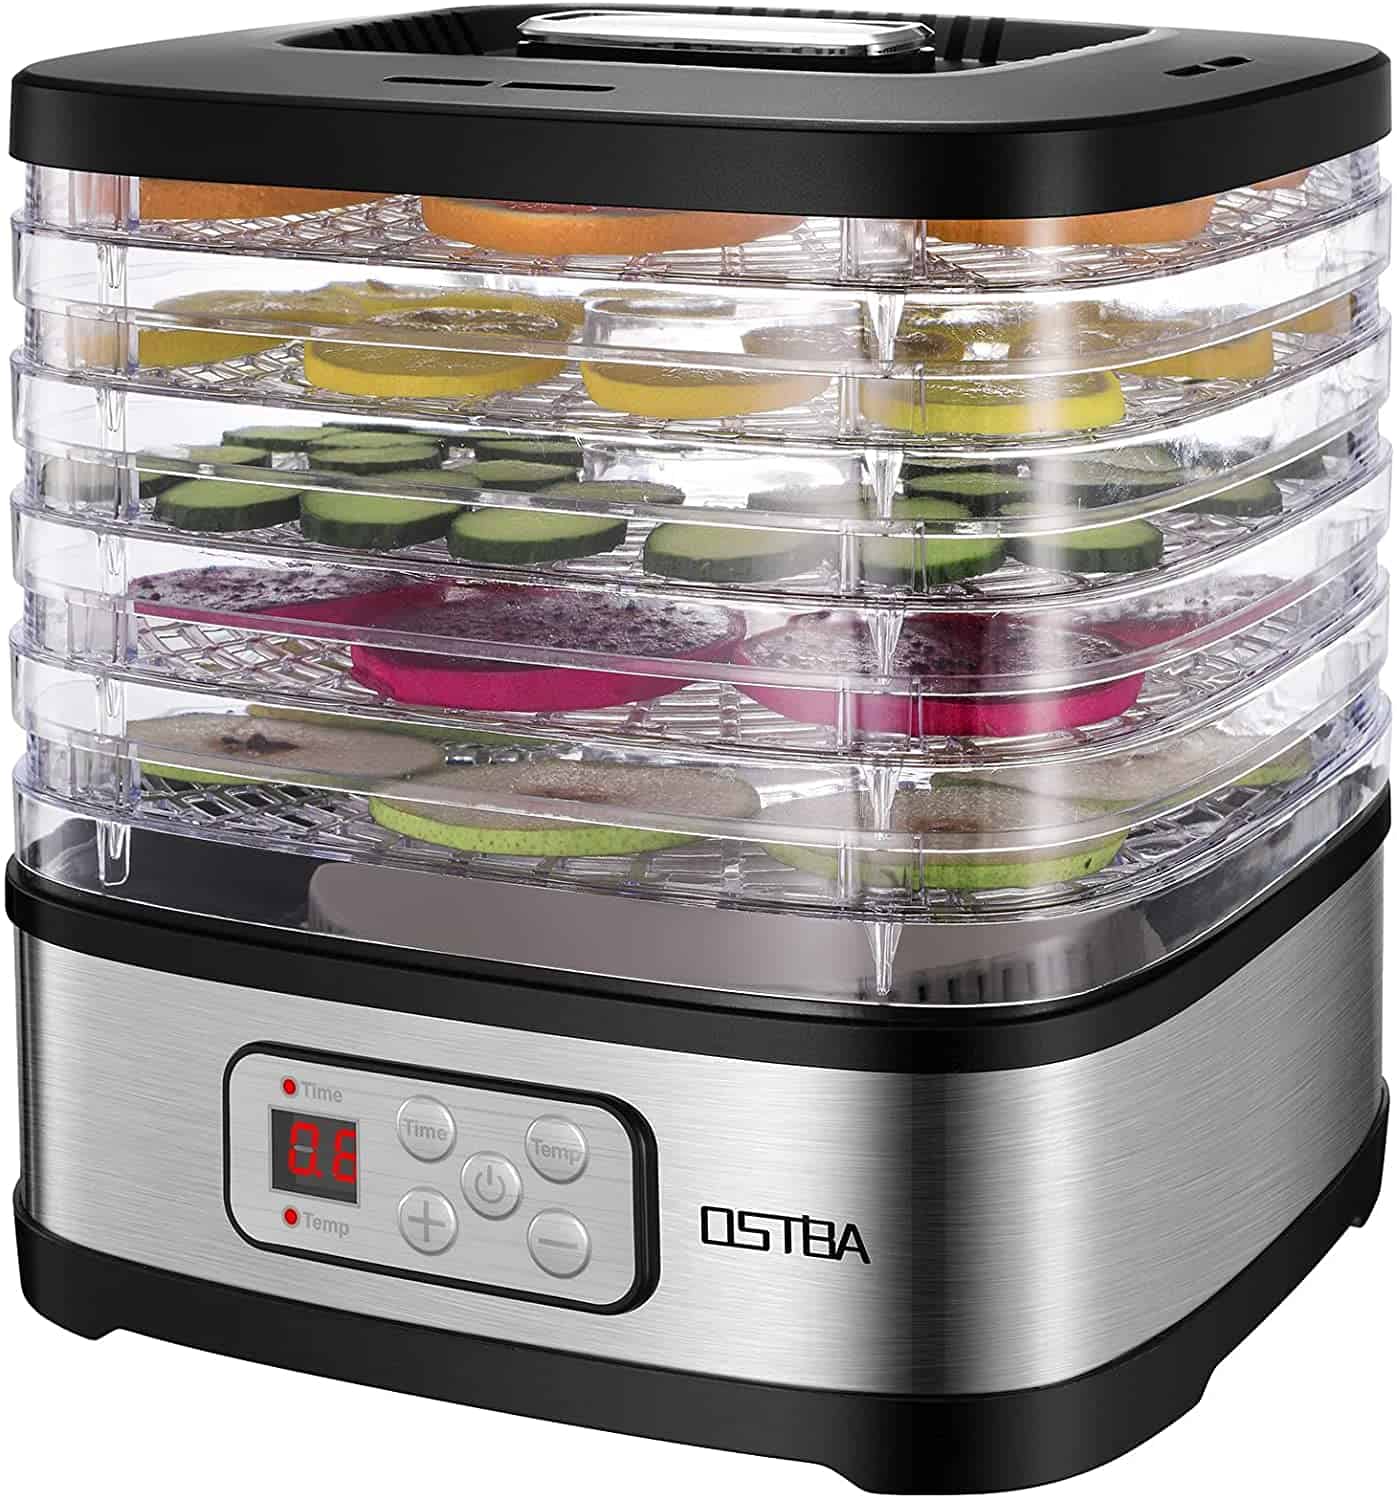
The most effective method to dry out hops is using a food dehydrator, and I recommend opting for the OSTBA Food Dehydrator Machine Adjustable Temperature & 72H Timer.
The great thing about this food dehydrator is that it offers a temperature range between 95℉ to 160℉, which is perfect for drying out your freshly harvested hops. You can also use the timer to shut off the machine after a period of time to ensure that your hops don’t dry out too much and become unusable.
This compact food dehydrator comes with five BPA-free trays and an excellent 60° circulation airflow feature. If you want the most efficient method of drying out your hops, this food dehydrator is ideal.
Fenestrelle Expandable Window Screen
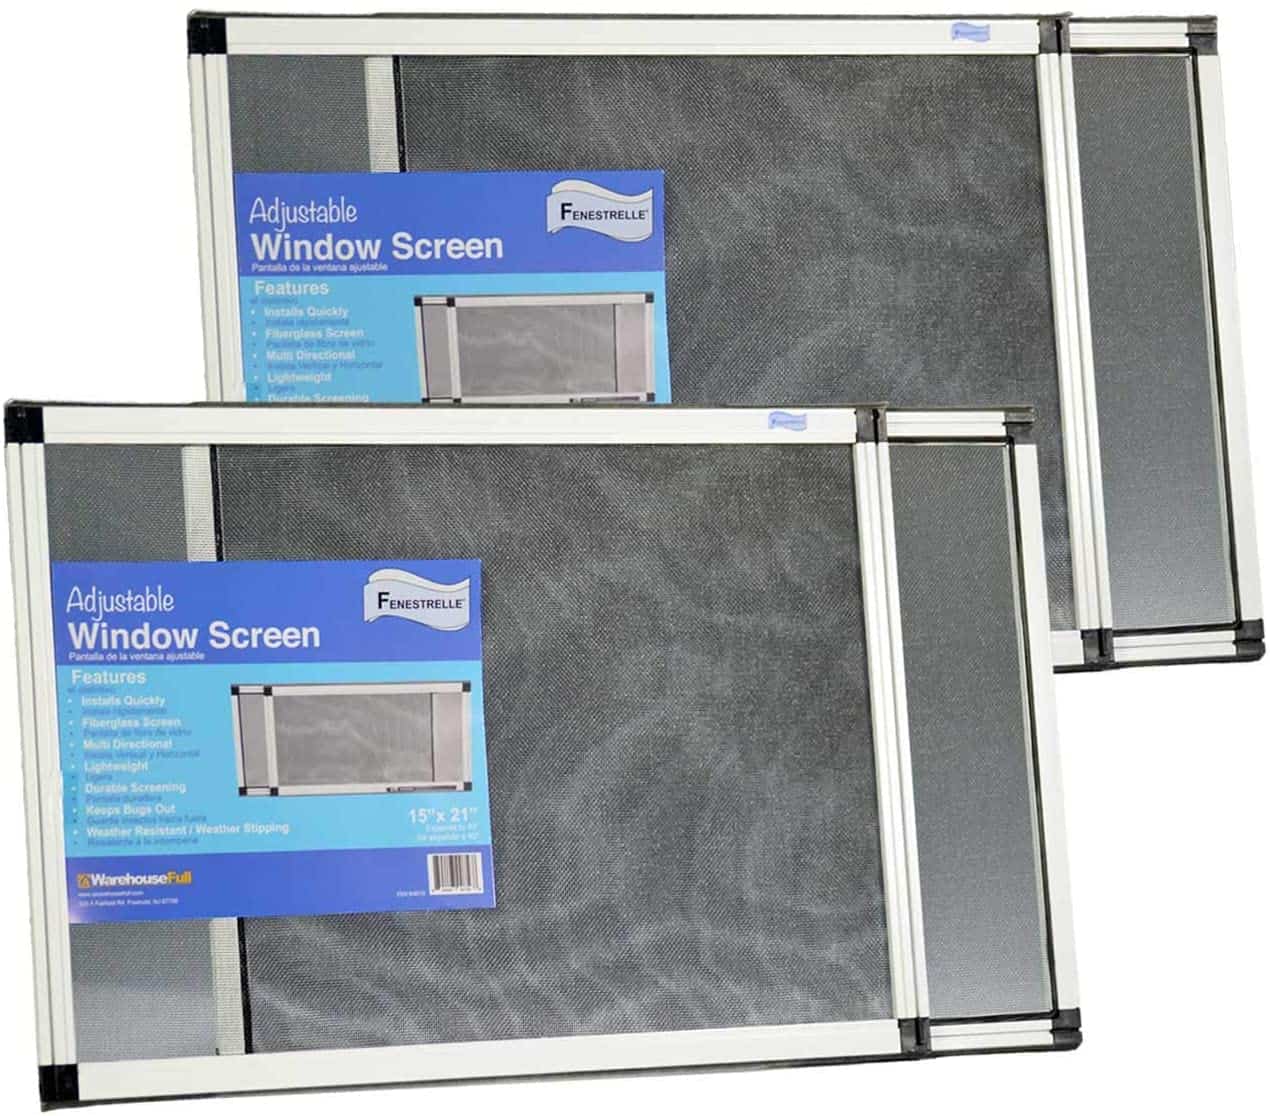
If you are going to dry your hops out with a screen, opt for the Fenestrelle Expandable Window Screen as a cost-effective option.
This is essentially a basic window screen; however, it can be utilized to dry out your hops. The great thing about this screen is that it is pretty cheap and will allow you to dry out a decent number of hops as it measures 15″H x 21″L x 40″W, and it comes in a pack of two.
While drying out hops with a screen isn’t always the best method, this product can provide ample space to spread your hops evenly. So, if you don’t want to invest in any fancy products, this window screen will get the job done.
Remember to follow my advice above about adequate airflow.
Frequently Asked Questions about Drying Hops
Question: How can I dry my hops?
Answer: The best method to dry hops is to use a food dehydrator as it ensures a consistent temperature that you have a lot of control over. You can also use a screen and a fan or dry them in a well-ventilated oven.
Question: What temperature should I use to dry hops?
Answer: The temperature shouldn’t exceed 140°F (60°C) as any higher than this, and the hops can burn and become unusable. Depending on the hop and moisture levels, a temperature of around 100°F (38°C) is ideal. You should ensure good airflow when undertaking the dry hop process and aim for 8-10% moisture.
Question: How do I store my dried hops?
Answer: You should put the newly dried hops in an air-locked bag or a plastic storage container. You can either freeze the hops or keep them in a cool, dry place under 20°C. Some hops store better than others.
Question: How long will it take to dry hops?
Answer: It depends on the method. Using a food dehydrator is the most efficient, and it can take between 8 – 9 hours, whereas if you use a screen and fan, the process can take over a day.
Conclusion
Drying hops is a vital stage before you can begin to use them for your homebrew creations.
The science behind it can be daunting, and this is one of the most complex parts of the process to get right; however, if you approach the drying stage in the right way, you can have fantastic hops to start making beers, ales, and other brews.
If you are drying your hops at home with a screen or a food dehydrator, I recommend using either:
- OSTBA Food Dehydrator Machine Adjustable Temperature & 72H Timer
- Fenestrelle Expandable Window Screen
These products will ensure your hops are dried out properly and ready to use in your homebrews.