

- Pilsner Malt Guide: Everything You Need to Know - May 22, 2022
- Brooklyn BrewShop Bear Kits Review and Guide: My Step-By-Step Experience Making This Beer - December 5, 2021
- The Ultimate Comet Hops Guide to this Rising Star Hop - October 29, 2021
I’ve done a lot of alcohol-related projects both behind the bar and at home, but I have never brewed beer before. So join me on this journey, complete with plenty of my failures and a few successes. And remember, I fail so that you don’t have to!
I purchased the Evil Twin Bikini Beer kit from Brooklyn BrewShop because I am a huge fan of the Evil Twin Brewery and their Bikini Beer is one of my favorite Pale Ales of all time. To say that I was excited to get this project going is an understatement! I’ve always wanted to try homebrewing and as I said, I’m a huge Evil Twin fan!
@engstythea I made beer for the first time using Brooklyn BrewShop’s Evil Twin Bikini Beer kit! #homebrewing #beerkit #craftbeer #eviltwin #fyp #femalebartender
♬ Good Time – Owl City & Carly Rae Jepsen
Captain’s Log: Day One
Day one is a big one! This is the day when you get the whole process going and it requires the most time from you.
The first thing I did was open the box and check to see what was inside and what else I needed. The box told me I needed one six-quart pot (but two is handy!), one fine-mesh strainer, and one funnel. So I went shopping and made sure I had all these things!
The box also told me to visit the website for video visual aids and more thorough written step-by-steps. Overall, the box made everything seem very simple and I went shopping and returned with confidence. The box was not lying, I watched a YouTube instructional and started reading through the step-by-step instructions on the website.
But this is when I hit my first road bump. At this moment, I realized that I did not in fact only need: one six-quart pot, one fine-mesh strainer, and one funnel. I needed two additional pots, one at least five-quart, and one at least two-quart. To say that ‘two is handy’ is an understatement.
Two is necessary, three will keep you from going insane. Why? Well, you need to start with heating 1.5 quarts of water and then add the grain, which cooks for about sixty minutes. Meanwhile, you are supposed to heat up 4.5 quarts of water to 170 degrees Fahrenheit. (So ‘two is handy’ is not entirely true, which is why I say two is necessary.)
You need to eventually combine the liquid of these two pots, but you first need to strain the grain out of the initial 1.5 quarts of water. So having a second pot is not handy, having a third pot, in my opinion, is also necessary.
Furthermore, I needed a vessel that could contain a gallon of water to mix the sanitizer in. Everything you use must be sanitized as any outside chemicals or pollen, dust, etc.. will affect the taste of your beer. Finding a random one-gallon container might not be difficult for some readers to dig out of their garage or basement, but I am a one-bedroom apartment dweller.
I have moved every one to three years for the last twelve years of my life. I have minimal vessels lying around as most things in my home have a specific use. Looking for this on the fly was annoying, I scrambled, but I found a gallon vessel for the sanitizer.
Then, I went out and bought another larger pot and finally got to work on my project.
This is when I messed up and can only blame myself. I sanitized everything I thought needed to be sanitized and then I dumped the sanitizer. I only had half a packet left, which I knew I needed to save for the final steps. The instructions were not clear to save the sanitizer, but they did not tell me to discard it either.
I do think they could be more explicit to protect a dope like me from doing this, but I should have read further to see I needed that sanitizer later in day one. I reached out to customer service for help on Monday, November 1st requesting more sanitizer and they got back to me the next day asking for an address to send it to!
The sanitizer arrived in time for my final steps, free of charge! Five-star customer service, even for a dummy like me!
So I sanitized all my tools and added my grain to the water. Once I added the grain to the water, a really cool and exciting bready smell began about three minutes later. This washed away my annoyance and loss of self-confidence and got me excited again. I was really making beer now!
As that process moved along though, something that bothered me about these instructions was that they did not give any time range for cooking or stirring the mash as a cooking recipe would. The first step simply said to stir until it is “the consistency of oatmeal”. This took me about twenty minutes.

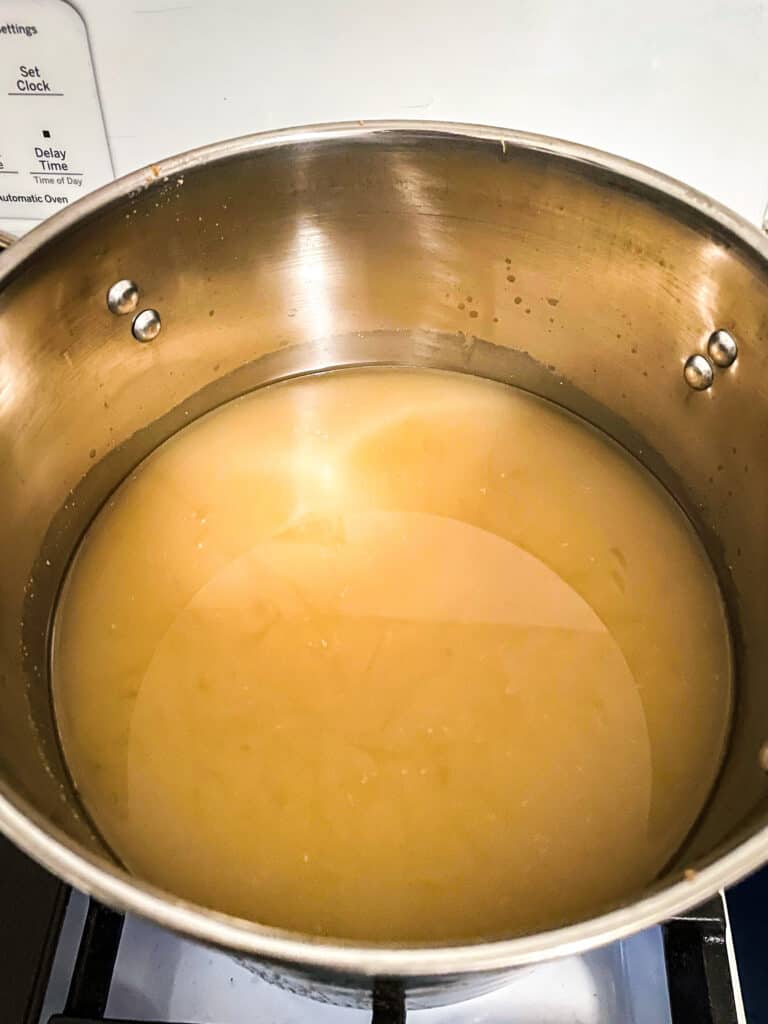
Now, I strained out the grain (a fine-mesh strainer is really necessary here, do not use your household colander) to make the “wort”, which is the liquid that comes out of this mash. Now, you pour the second pot of hot water over the same grain, extracting the sugars. You repeat this process with the wort.
Now, it was time to boil the wort and prepare it for the hops!
Opening the hops was a really exciting thing for me. I’ve never smelled raw, fresh hops like this before, so it was kind of a nerd’s dream come true. First, I opened the Simcoe. Immediately, I was bombarded with gorgeous lemon zest. It was super tart, a little grassy, and dank.
Forty-five minutes later, it was time to add the Cascade hops. Opening these gave me a true juice bomb nose. This was juicy orange, and where the Simcoe was all about zest, this hop was about the fleshiness of an orange.
Finally, the Falconer’s Flight was the last hop I had to add. This was more citrus but back to lemon. It was lemon brightness, no flesh, and more pith bitterness than the Simcoe. Smelling these hops was the most exciting part of day one for me.
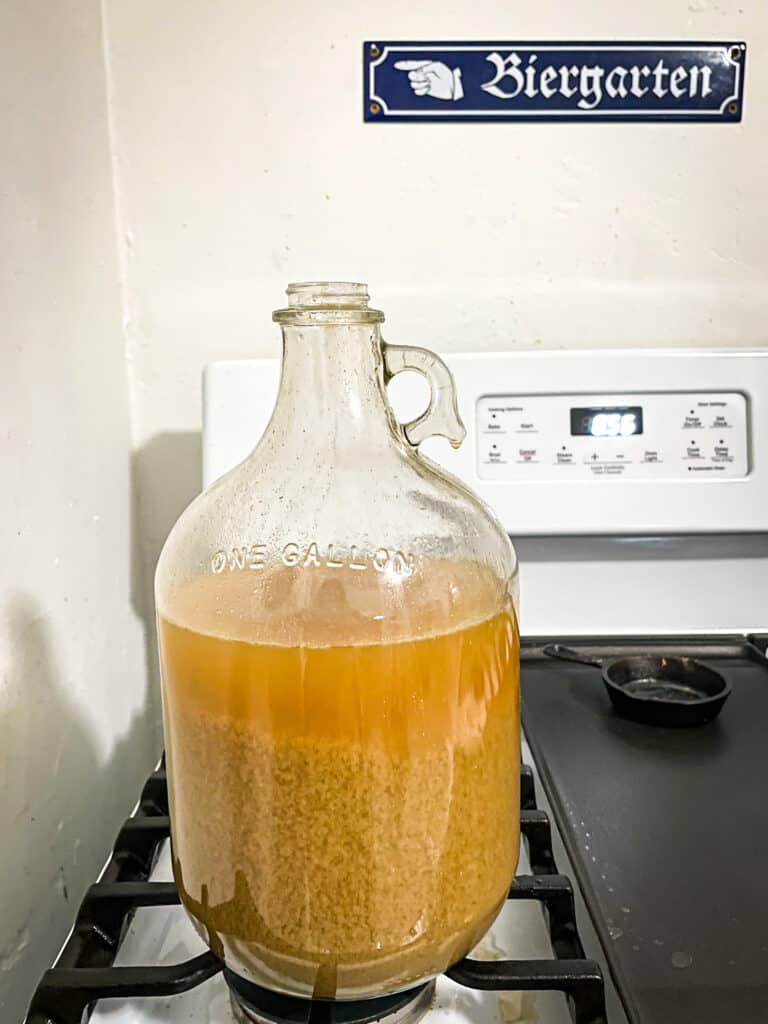
Finally, it was time to cool my wort and wait for it to drop to seventy degrees as the instructions instructed. I poured it into the provided glass jug and put it in the fridge in an ice bath until the temperature dropped.
Once it was at seventy degrees, I added the provided live yeast. Now, I was instructed to sanitize my hands, use one as a seal over the mouth of the jug, and shake. Am I the only one that doesn’t want a seventy-degree hot wort on the bare palm of my hand? Why does Brooklyn BrewShop not provide a cork or bottle cap for this jug?
Shaking this brew was really difficult for me, I am a small person and the mechanics of shaking a huge jug full of hot wort with nothing but my small hand as a seal was stressful, messy and it hurt my hand. Brooklyn BrewShop, please provide caps for these jugs!
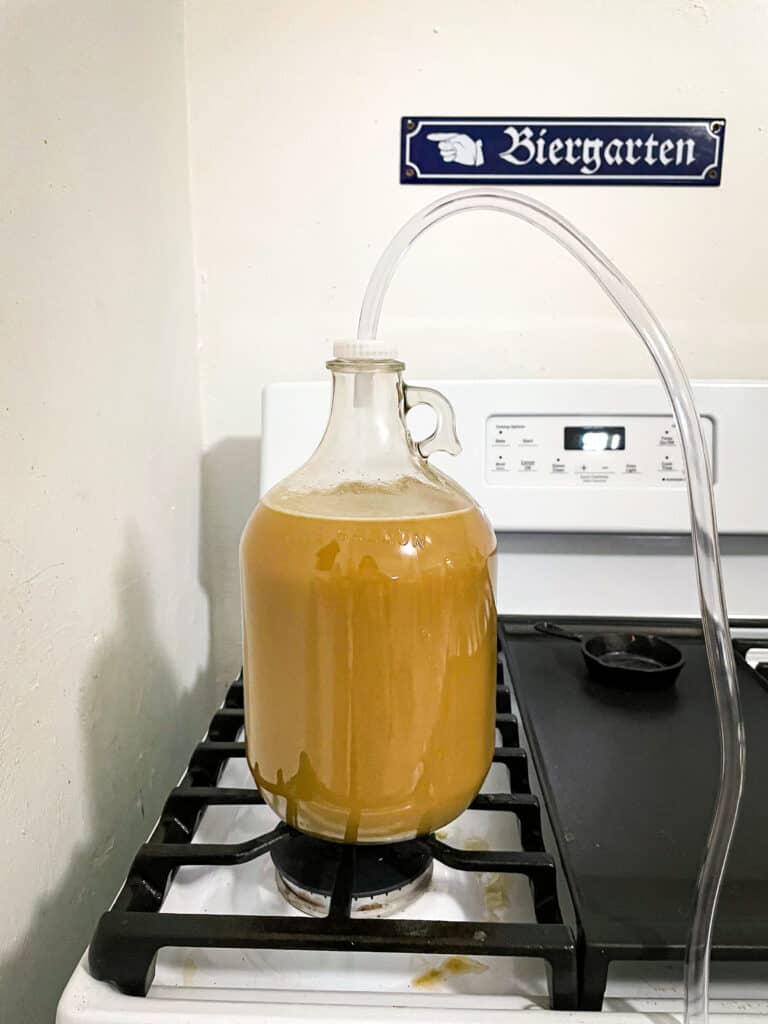
Now, I put the cap that was provided, which has a hole in it for a tube, on the jug, put the tube through the hole, and put the other end of the tube in a bowl of – you guessed it – more sanitizer. I put my brew in the dark pantry for two days. I was now out of sanitizer.
Captain’s Log: Day Three
I left my beer in the pantry as instructed, because it was dark and cool, for two days. I went to check on the bubble situation and the beer was stable, meaning there were no bubbles, so I progressed to the next step.
The beer didn’t look great. It was a brown color and you could see the layer of what I believed was hops resting on the bottom. On day three I was not confident in what this beer would taste like at all. Or what I mean to say is that I was sure it wouldn’t taste good.
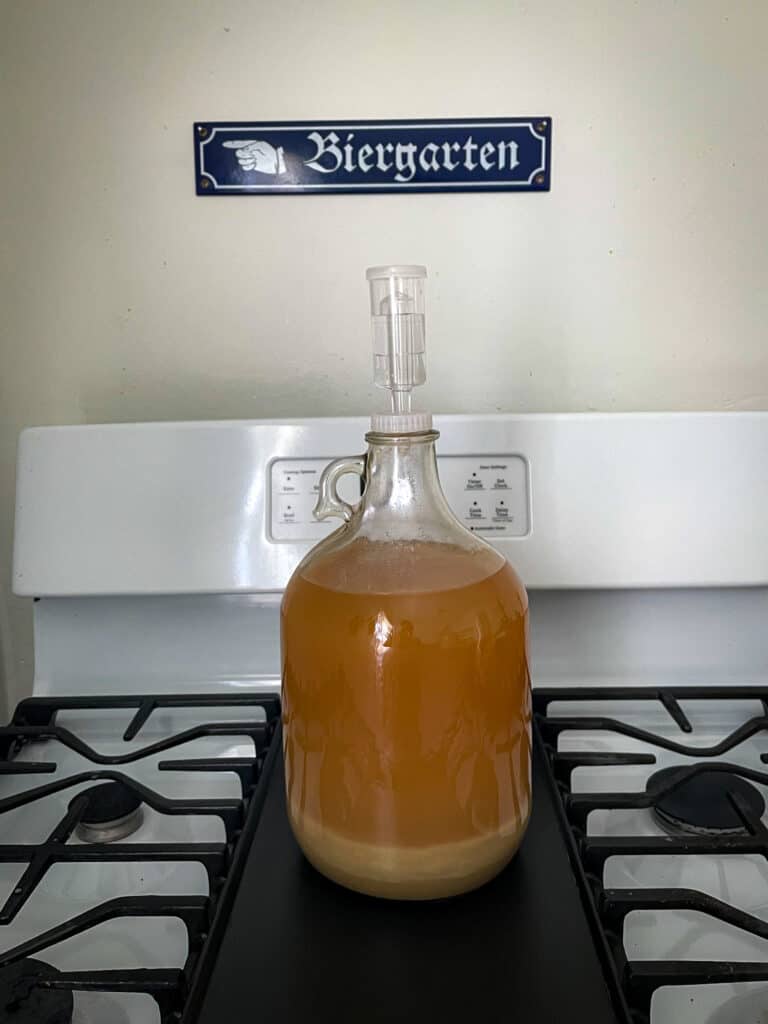
But the instructions for this day were simple: sanitize the airlock, reassemble, top with sanitizer and place it in the hole in the cap. I did this with ease (I don’t want to brag…) and put the beer back in the pantry for another two weeks.
My assignment for the next two weeks was to leave the beer alone and figure out what to bottle it with. This is something else that BrooklynBrew Shop does not make obvious on the box. You need bottles for your beer, and you need caps.
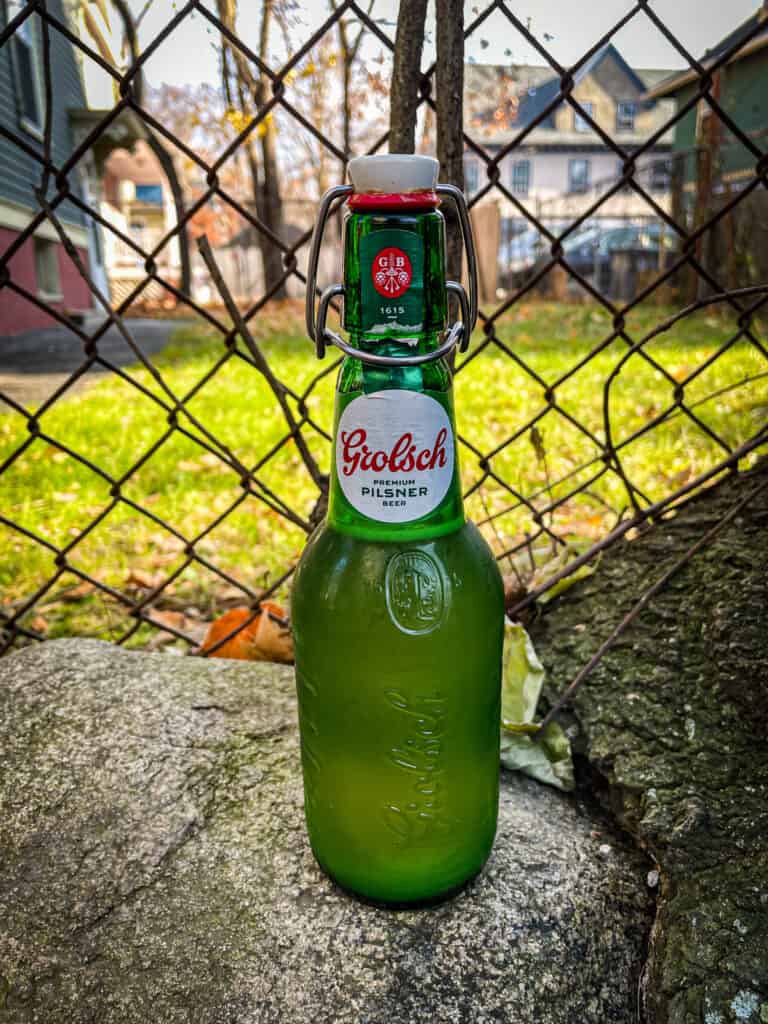
It suggests finding a beer with a swing cap to make this easier, and work on drinking those for the two weeks your beer ferments. I grabbed some Grolsch four-packs and got to work. Homework can be tough guys, but I do it for you!
And somewhere in these two weeks of waiting, my replacement sanitizer arrived!
Captain’s Log: Day Seventeen
Finally! The day of bottling arrived!
This process was done by siphoning and the BrooklynBrew Shop has both written instructions and a video to help anyone who is a visual learner like me. The process was frustrating though, to say the least, and I will tell you why.
Firstly, you had to attach the tube full of sanitizer to the racking cane. Their connection needed to be airtight so both the tube and the cane were the perfect, snug fit. Of course, you’re trying to attach the wet tub to a slim, plastic cane. It was difficult to make the snug fit actually fit.
Once I did, the siphoning did not work. Why? Because what the website and the videos do not explain is that siphoning uses gravity. You must have the liquid you’re siphoning a little higher than where it is meant to go. I realized this after the second time of filling the tube with the sanitizer, attaching it to the racking cane, and failing at siphoning it.
So once I got that process down, the beer was siphoned into a pot that had half a cup of water and three tablespoons of honey waiting for it in order to create carbonation in the bottles.
Now, lucky me, I got to siphon again! This time from the pot with beer, honey, and water, into the bottles. This process was again, long and frustrating for all the same reasons.
But it worked. Now, I waited another two weeks, keeping my precious bottles in a dark space.
Captain’s Log: Day 31
This is the day I moved my beautiful babies from the dark, cool, pantry to the refrigerator. One more night until consumption!
Captain’s Log: Day 32 Judgement Day
I finally got to taste my monstrosity! I was nervous, apprehensive, anxious — I was so sure that this was going to taste like garbage, I can’t even tell you. I was sure I missed a step, didn’t sanitize a tool correctly, killed the yeast, etc.. All of these emotions were running through my head after more than a month of working and waiting on this beer.
But oh my goodness. This beer isn’t bad. I cannot believe that in all my fumbling, I didn’t mess this up. I don’t want to brag, but could Brooklyn BrewShop have created a kit that is fool-proof, even for the brewing novice like myself? It seems possible!
My biggest fear was that the beer wouldn’t carbonate and while it isn’t super carbonated in the bottle, it isn’t flat either. I poured out a glass of my brew and was delighted at the nice, foamy, healthy head and bubbles throughout. The carbonation really stood out more in the glass. Once again, I am in awe that I didn’t manage to mess this up!
Tasting Notes on My Evil Twin Bikini Beer
While what I created isn’t exactly like the Evil Twin Bikini Beer, it’s tart, bitter, and bright. The lemon zest of the hops really comes through right away. I don’t get much of the orangy, juicy fleshiness, but that’s okay with me because when it does come through it’s nice and subtle. This beer isn’t meant to be a juice bomb.

Overall my little beer is lactic-forward and dry with heavy lemon zest and a citrusy, biscuit nose. I am very proud of how this came out! I can’t believe it!
Pros and Cons
Cons
- The box is misleadingly simple in its instructions, the process is much more involved than advertised.
- More false advertising. The necessary items notes on the box and in instructions are supposedly only three more items than what’s included in the box but this is just not true, you need more. (A gallon container, a third pot, and of course bottles for the beer which may include purchasing a bottle-capper.)
- The step-by-step instructions could be written more comprehensively. I think they should be re-written to resemble cooking recipe instructions to make them more universal and easy to understand.
Pros
- After doing this once, I feel I could do it again more successfully.
- Brooklyn BrewShop had excellent, responsive, and thorough customer service.
- The videos were extremely helpful.
- For $48.99, this is a fun, extended activity for the beer enthusiast and I’d recommend it as a good gift!
- I love that you can choose a kit for a beer you already know. That aspect really elevates this brand over others for me as a consumer.
Comparable Beer Making Kits
The Brew Share Enjoy Home Brew Starter Kit
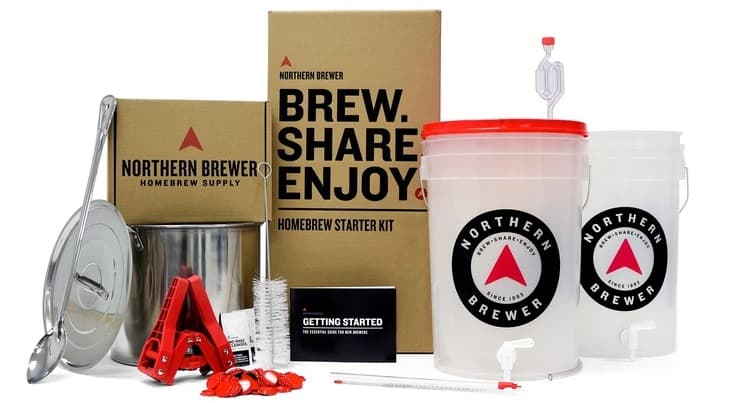
The Brew Share Enjoy Home Brew Starter Kit is much more expensive but much more thorough than the Brooklyn BrewShop kit. This is $129.99 so more than twice as much as the Brooklyn BrewShop product, but it’s meant for a much larger scale and repeated use.
This set has everything you need already included and you can make any style of beer you want with the provided ingredients and materials. So unlike the Brooklyn BrewShop kit, with this, you can open the box and start brewing without any extra trips to the store.
The Mr. Beer Starter Kits

The Mr. Beer Starter Kits are great for the beginner brewer. Once again, the kit comes with everything you need to brew the beer. You don’t get a specific beer like with the Brooklyn BrewShop, but you do have to choose the style before you order the kit. This kit is only $39.95 too and gets great reviews!
BrewDemon
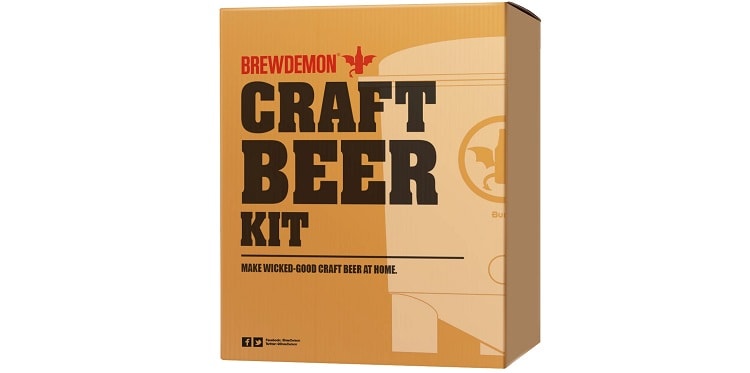
BrewDemon is more than a cool name, it’s an excellent website for beer enthusiasts interested in brewing. They offer more difficult kits for the experienced brewer, but they also offer starter kits for $51.50. The website boasts that it includes all the ingredients you need, which is true, but it does not include the hardware like the Brew Share and Mr. Beer kits.
FAQs
Question: Do You Recommend This Product for the Beginner Brewer?
Answer: Yes and no. While I do not think that you could find something more comprehensive for the beginner brewer, I also think this kit does a great job at providing most of what you need and gives you a nice foundation for the next brew. And while I was sure for a month that I had done something wrong, not even I failed at brewing a beer with this kit.
Question: Was this Process of Brewing Beer Fun for You?
Answer: I know it may seem like I was frustrated a lot in this but the answer is a definitive yes. I think I may have felt differently if the beer turned out to be garbage but it was surprisingly decent! Having a successful outcome always makes the process more fun!
Question: Would You Buy this Product Again?
Answer: Yes. I want to get it perfect! And like I said earlier, now that I have one trial-run down, I feel more confident going at it again.
Question: Would You Give this as a Gift?
Answer: Yes I would. It’s fun, not too expensive, and unique. I also love gifts that you can create something with rather than gifts that just create more clutter for the recipient. This is one of those gifts.
Question: Do I Need to Know About Brewing to Make this Beer Successfully?
Answer: It wouldn’t hurt. I understood the process ‘well enough’ as I got this going, but there is a reason why professionals do this and do this so well. It isn’t easy, it isn’t super simple, it does require craft, skill, and know-how. But that being said, if you read the instructions carefully before you get going, I believe you can make this well the first time around.
Question: What’s Your Best Advice for a Beginner Brewer who has One of these Kits?
Answer: Read the instructions thoroughly before you start anything. And yes, that is in the instructions! Also, watch the videos. They’re very informative, especially for visual learners like me.
Question: Is the Brooklyn BrewShop Kit the Best Available?
Answer: I can’t say that definitively, but I will say that although there is room for improvement, this was a really solid brew kit. For the price, the customer service, and the final outcome for me despite my floundering, I would say it’s a company worth trying.
Question: Was the Brewing Process Worth it?
Answer: If you asked me that during week two, I’d say no. That’s because I was so sure I had messed up. Having that final product in my fridge now though, ready to show it off to anyone who walks through my door, that’s pretty cool. Yes, this process is worth it!
Question: Was this Entire Process Worth Buying the Brew Kit?
Answer: Yes, I had lots of fun and I learned a lot. I will definitely be trying more brew kits in the future both from Brooklyn BrewShop and other companies!
Brooklyn BrewShop Bear Kits Review: Final Thoughts
All in all, this was a valuable and enjoyable experience for me. I loved getting to brew my first beer, and even though it was frustrating and challenging, what worthy tasks aren’t?
This kit taught me a lot about the process and what I need to make the brew happen and I’m excited to try something like this again. Yes, despite the frustration, I would 100% try brewing again and I would 100% try the Brooklyn BrewShop product again.
Not only was the home brewing process exciting and fun, but the customer service from Brooklyn BrewShop was also impeccable, and that goes a really long way for me. Furthermore, I love that they offer brew kits for beers I already know, it makes the whole process a lot more fun! And finally, the beer I brewed was actually good! Who’d have thought?